Sponges laser cut in their compressed form. Also: lovely.

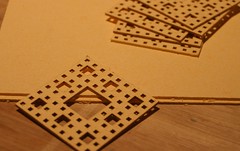

Sponges laser cut in their compressed form. Also: lovely.
Evil Mad Scientist Laboratories has tutorials on just the kinds of things I like to make. This time it’s the cat quilt. My cat’s never seen a fish, and for some reason I thought sewing a circle would be hard after my lumpy catnip-toy experience, so I decided to be clever and do a children’s book cover. I suspect my cat at least saw a mouse when he was living under a porch before I took him home, so I chose Frederick, the art for which lends itself very well to the appliqué technique used in the EMSL project. (I used the catnip-toy fabric for the back.)
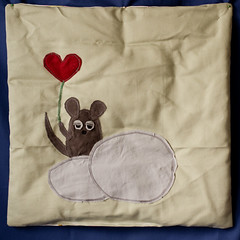
It wasn’t until I was actually sitting down at the sewing machine that I realized I’d set myself up for a crash course in sewing on a curve. I think I did OK, although I’m starting to see why quilters like having fancy anti-pucker features in their machines. And if my cat could just pull himself away from the cat chaise, we might see what he thinks of his new quilt.
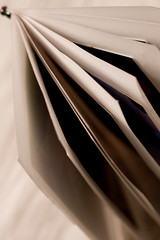
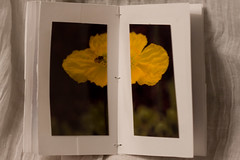
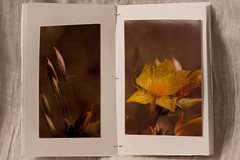
When I made my tiny photo book (Thing 10: Tiny Photo Book), I was using a folding pattern intended to, with several folds and a single cut, yield a tiny book with a front, back, and 3 spreads.
I ended up making a lot more cuts to get more spreads and thus needing to “bind” my book, which I did with jewelry wire and beads. With less cutting than I originally used but 1 cut more than the single-sided version calls for, the book still doesn’t need to have a spine or stitching and can have 4 spreads. I used the following pattern (in which you would fold on the dotted lines and cut on the solid lines):
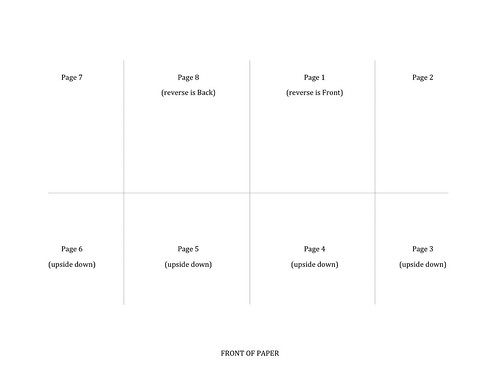
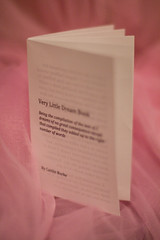
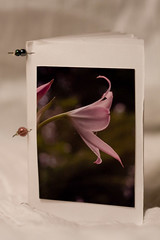
My goal was to do all the printing on a single sheet of paper, and then fold and cut to get a tiny book that needed no binding. (I did glue the blank [backs of the] pages.) And I got this:
There. Now I can move on to accordion books and stab-stitch books.
I am slow to document stuff the last few days, but here we go!
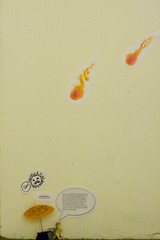
Last week, I noticed that someone had spontaneously added some protection in the form of a frou-frou drinks umbrella to my dinosaur installation (Thing 3: Dinosaur Plea):
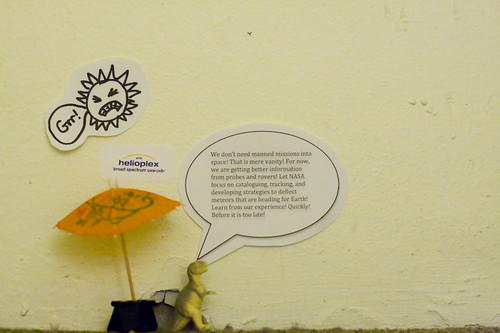
Not a moment too soon, either, because, starting with very small ones far up in the stairwell, and moving down and getting larger, our dinosaur became directly threatened.
Followed a few days later by about what you’d expect:
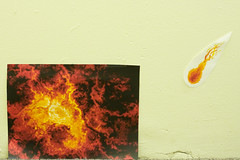
Next week: a 2-part conclusion!
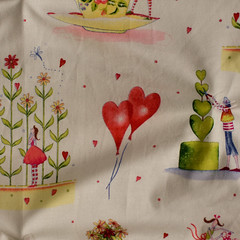
In 2003, a friend and I had this great idea for a series of Web-based collections of art and writing. We laid a lot of groundwork and then got pulled in 15 different directions, as did a few helpers, and nothing came of it. Except we found cover art for each issue.
I’ve always felt bad about the way those pages looked as the years went on – a project that clearly went nowhere but described as if it were, in fact, still yesterday.
So today I tore down those old pages and replaced them with a simple container for the cover art, with links to each (available) artist (one is MIA). The first piece I acquired for the project was this wonderful illustration of Medusa, by Hope Larson:

I haven’t fixed the text alignment further down the page, but you know what? It’s almost midnight, and I’m tired, so this is good enough!
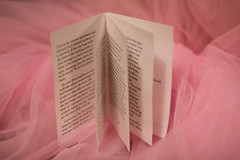
Thing 10 is a teeny tiny photo book. It has a front, a back, and 7 spreads. You can see the photos I used for it at Flickr. All the pages come from a single sheet of 8.5-x-11 paper. It is bound with flexible wire and beads.
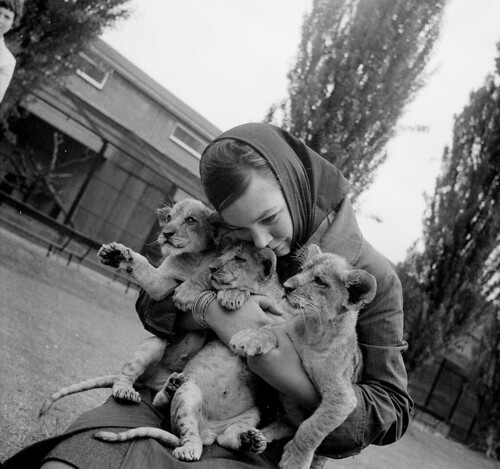
Meisje met jonge leeuwen in Artis, originally uploaded by Nationaal Archief.
From National Archive (the Hague) photos.
The Nationaal Archief photo collection consists of more than 2 million photos that cover a period of more than a hundred years of national and international history. [ more ]
I love pictures of cats and firemen. I’m not unique in this, of course. I encourage people to send me such pictures and have been told more than once that I should start a blog. I’ll either get over this fascination (although I don’t know why I would want to) or it’ll catch on, and folks will flood me with more material than I ever dreamed possible. I’m hoping it’ll be the second one! And now I present, The Rescuers.

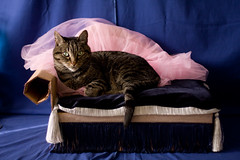
And here it is, the final piece of Mr Bun’s new furniture:
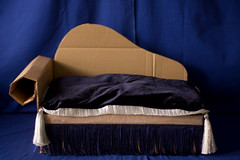
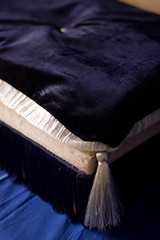
This tasseled cushion (velvet, metallic fabric for edging, batting, silvery tassels, pewter button) is the final piece of my modification of the Cat Chaise. The cushion is tied to the frame of the chaise with silvery ribbon (hidden from prying claws).
How does he feel about it?
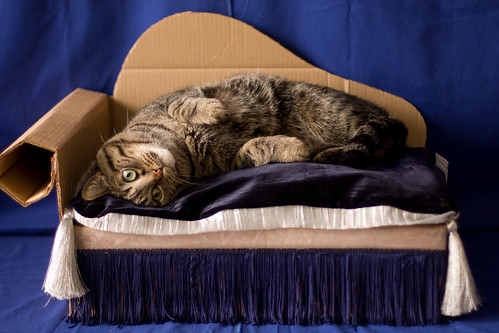
Evil Mad Scientist Laboratories has loads of fabulous tutorials, including one for a cardboard chaise longue suitable for cats [ www.evilmadscientist.com/article.php/catchaise ]. I modified it in preparation for a cushion (to be made tomorrow), and because I didn’t feel like cutting out little feet. Also, I just wanted to cut the cardboard freehand instead of bothering with a template or pattern. This project was a great excuse to get a glue gun! I foresee more appearances of that device in future things-a-day this month.
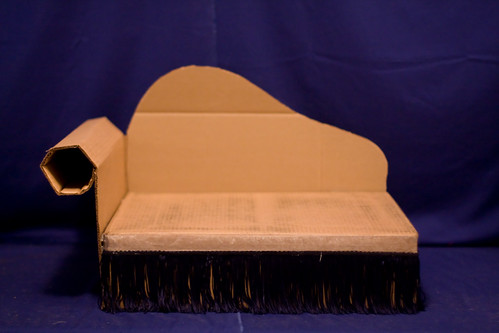
Mr Bun seemed traumatized by the unnecessary destruction of a cardboard box, but I predict he will have napped on it within 12 hours.